
Orthodontic outcome preview: alignment before treatment
How alignment simulations support orthodontic consults, what to show aligner-curious adult patients, and where…
Read the guideUse case
Why a whitening preview helps patients choose a realistic brightness level, how shade-drift conversations work, and what to show in a whitening consult.
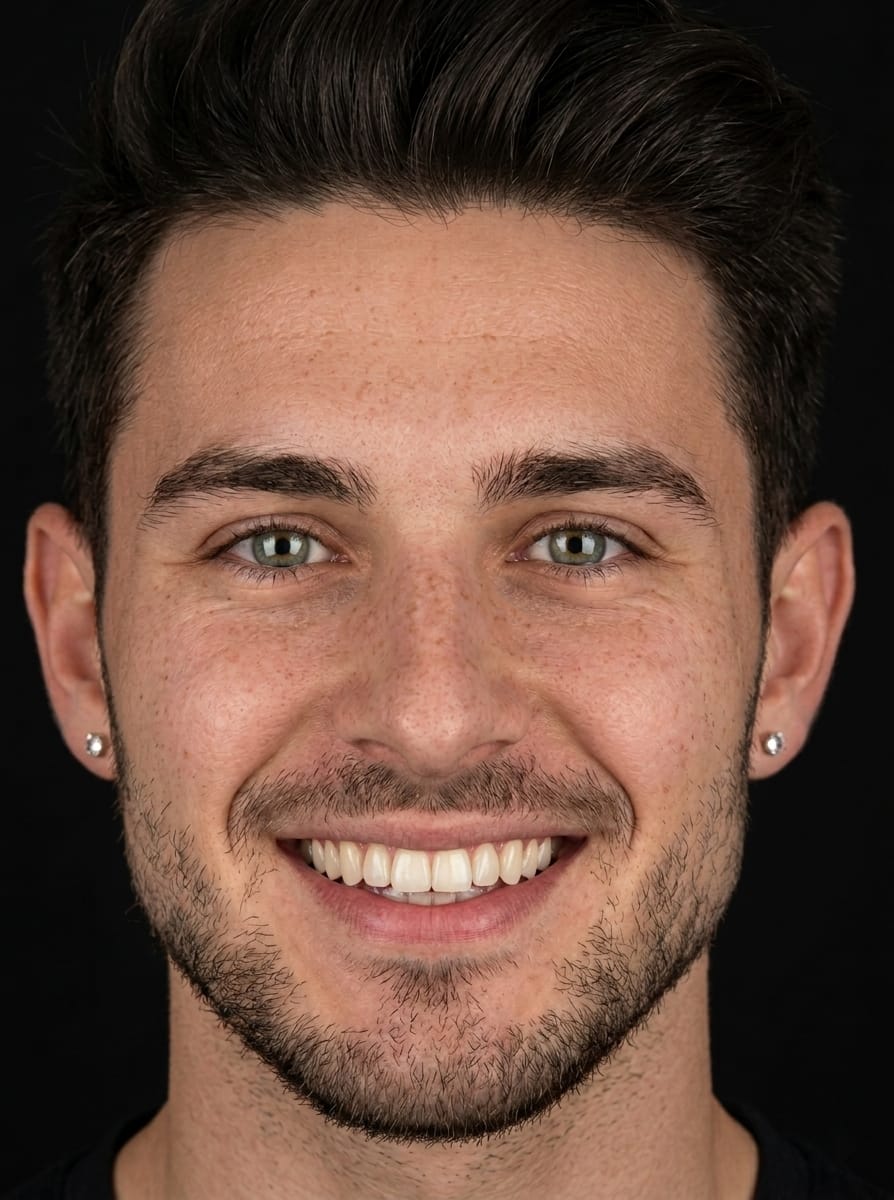
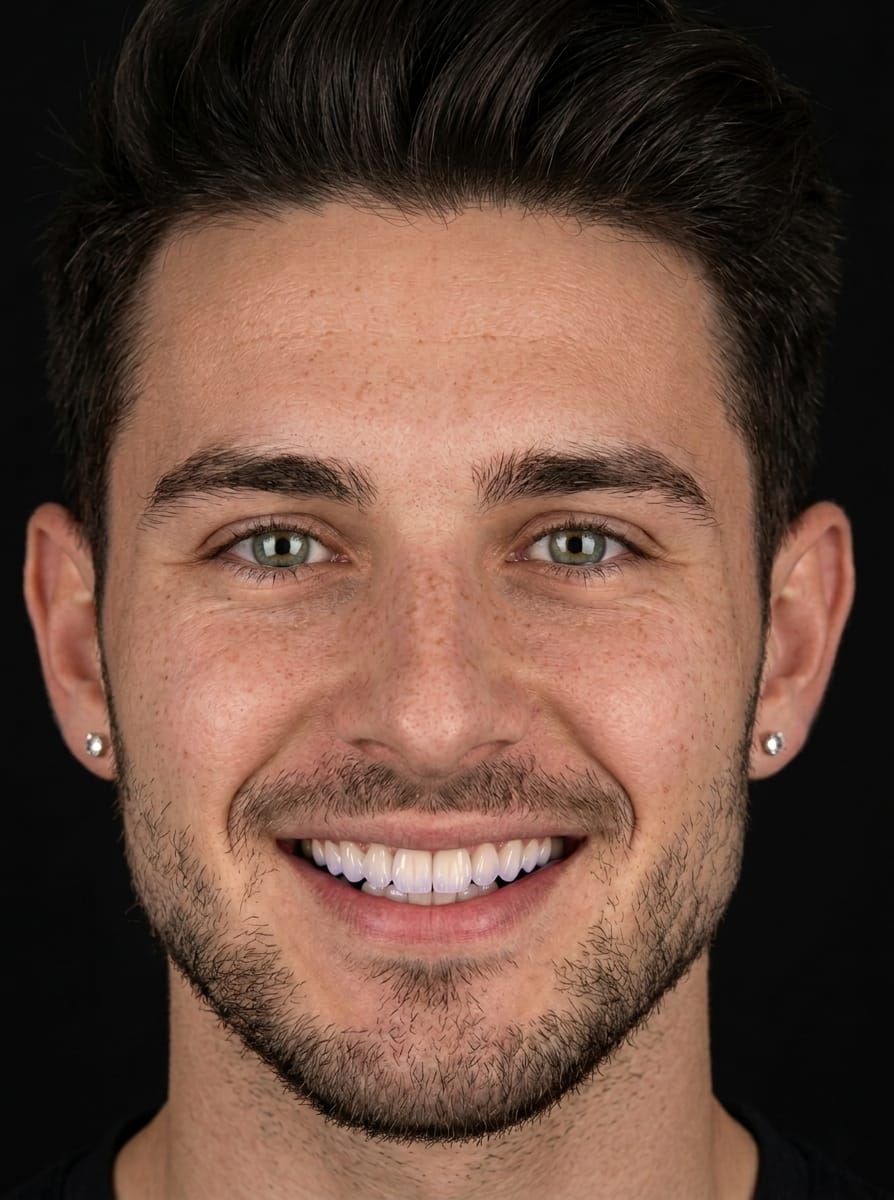
Step 1
Same framing each visit, so the brightness change is the patient's own enamel, not a different photo.
Step 2
Show the endpoint on their teeth. The picture is the destination, not day one of the protocol.
Step 3
The consult locks the shade the patient expects, so 'not white enough' is settled on screen.
A whitening simulation shows a patient’s own teeth at a chosen brightness level, on their own photo. It recalibrates the conversation to what is achievable on their enamel before any gel is mixed.
Whitening is the most requested cosmetic treatment and the one with the widest gap between expectation and outcome: patients arrive with reference images filtered to impossible white. A simulation is not a promise of a specific shade after treatment.
The whitening operation renders moderate, strong, and max brightness levels, and a before/after pair makes the increment tangible. Instead of asking “do you want whiter teeth?”, you ask “which of these two looks like you?” — and the patient self-selects a level you can clinically justify. Shade refine retargets tooth colour after a makeover when a case combines whitening with restorative work.
Three points to make explicit, ideally with the simulation on screen:
When whitening is the first stage of a larger plan — bonding, veneers, aligners — the preview helps sequence the work: whiten first, let the shade stabilise, then match restorations to the settled colour. The simulation gives the patient a view of the whole arc instead of a series of disconnected appointments.
Send the approved before/after pair home. Patients who can re-open the image show the decision to their family — which is often who actually approves the treatment — and return for the procedure with the endpoint already agreed.
Moderate, strong, and max, on the patient's own photo.
No. It is a communication preview of the aesthetic goal; your biology, the preparation and the lab's work determine the final outcome.
How alignment simulations support orthodontic consults, what to show aligner-curious adult patients, and where…
Read the guideHow veneer preview simulations work, what a good before/after mock-up shows a patient, and where photorealisti…
Read the guideOperations, pricing and the data-handling posture, on one page.
Visit the homepageStart free in the web app, or book a demo to see the consult flow end to end.